Managing your roster during registration
Last reviewed
Open your class listManaging your roster during registration
Once families start enrolling, each class’s edit page becomes your roster. The Enrolled heading shows the count against capacity, like Enrolled (14 / 20), with the students listed below. Any allergies, dietary restrictions, or medical notes a family entered show up next to the student, so a teacher checking the roster sees them without digging. If your application form has a per-child question set to show on rosters, such as a media release or pickup permission, each child’s answer shows there as well, and a child whose family hasn’t answered yet is marked not answered. Setting that up is covered in the application form guide.
To take a student out of a class, click Remove on their row. For a paid class, the confirmation includes a checkbox to issue a Stripe refund for that student’s seat, checked by default. If siblings paid together, only the removed student’s share is refunded. Teacher earnings aren’t adjusted automatically, so if you track payouts, square that up in Billing.
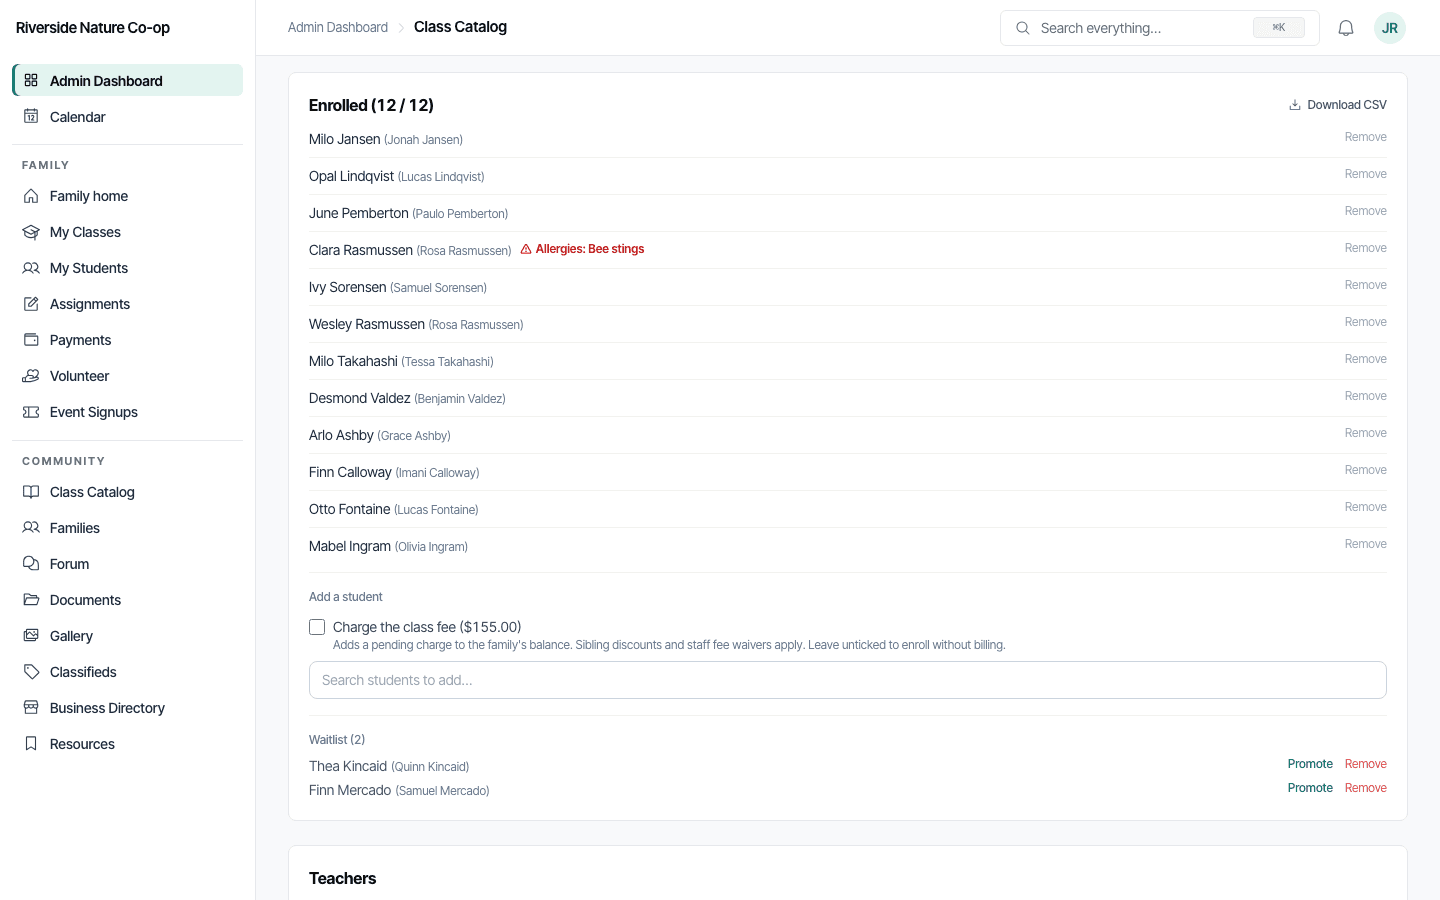
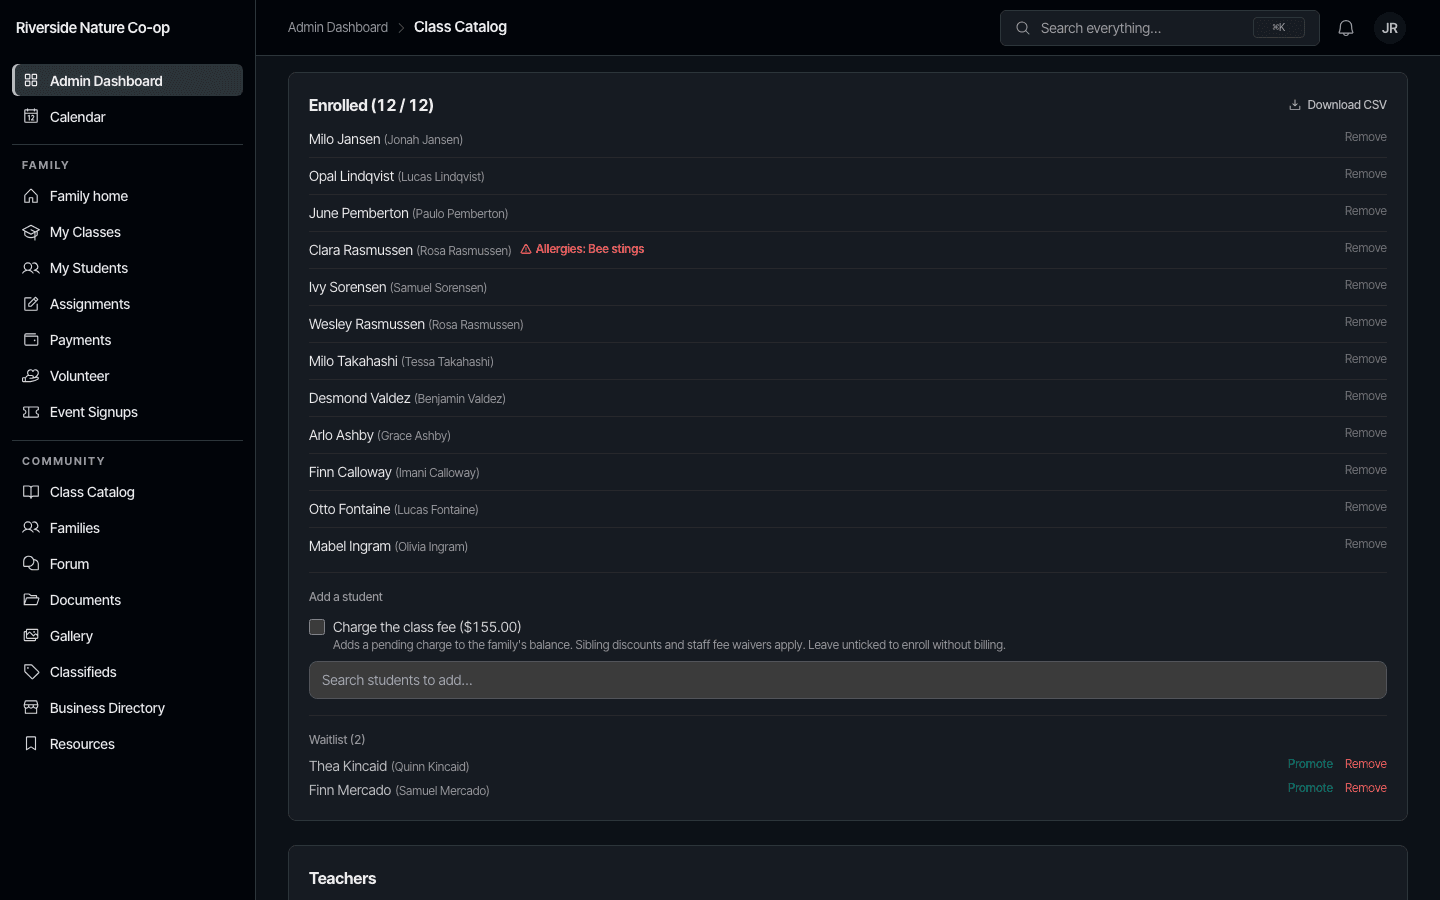
Need a class roster outside the app, for a substitute teacher, a printout, or a spreadsheet? A Download CSV button on the class’s edit page exports the full roster: name, grade, allergies, dietary restrictions, medical notes, and parent contact info. A per-child question you’ve set to show on rosters gets its own column. Teachers get the same export from the Roster tab in their Teaching view.
For a term-wide printout (every class grouped by day, time, and room, with its full roster, meant for posting in classrooms and the office), go to Admin › Emergency Roster. Day tabs at the top let you jump straight to one meeting day instead of scrolling the whole term, and each student shows their allergies and dietary restrictions alongside both guardians’ names and phone numbers (when a family has added a second one), a separate emergency contact if the family listed one for that student, and the family’s own emergency contacts, so the page works on its own during a fire drill or evacuation without anyone needing to look anything up. Family emergency contacts are the household’s fallback people, a grandparent or neighbor who can be called for any of their children. A family can add their own, and you can add or correct them for a family from their profile in Families. Run it fresh each term, and again whenever the schedule changes.
To get it on paper or into a spreadsheet, click Print or download. In the window that opens, pick a day (or all days) and either every class or just the ones you choose, then pick a format:
- Printable sheets open in a new tab, ready to print or save as a PDF. Leave Start each class on a new page checked to get one sheet per classroom. Each of those sheets is headed “Emergency roster” with your co-op’s name, so it makes sense on its own when it’s taped to a door. You can also leave off parents, emergency contacts, or authorized pickup people if you don’t want them on the sheet.
- Excel spreadsheet downloads a workbook with one tab listing every student and a tab for each class. It opens in Excel, Google Sheets, or Numbers. If you need a plain CSV file instead, there’s a Download CSV link under that option.
Allergies and medical notes are always included, whatever you choose. On the printed sheets, any student with an allergy or medical note is marked Alert with a heavy line down the left of their row, so a teacher can find them quickly. The marks are plain black and still show up on a black-and-white printer. Dietary restrictions alone don’t get the mark.
Waitlists
When a class hits capacity, the next student to sign up joins the waitlist instead of taking a seat, in the order they registered. Seats are handed out one at a time under the hood, so two families registering the last seat at once can’t both land it. The class’s edit page shows a Waitlist section below the enrolled students, in queue order, so the family who’s waited longest sits at the top.
When a seat frees up, or you decide to make room, click Promote on a waitlisted student. For a paid class, the confirmation tells you the fee will be added to that family’s balance, then the student moves into an enrolled seat. You can also Remove a student straight from the waitlist if they’ve found another option.
What families see
Members enroll from Class Catalog in their own dashboard. Each published class shows its open seats, like “6 seats remaining” (or “No seats remaining” once it fills), and a button to register. When they register, they pick which of their children to enroll, and the button adapts to the situation: Enroll & pay with the total for a paid class, Enroll and pay later when the fee goes on the family’s balance, a plain Enroll for a free one, or Join waitlist when the class is full.
Families with an invite link reach the catalog through it and see a short banner confirming the link is active. Prospective families looking at your public co-op page see the same classes if the public catalog is on, and they’re sent to sign in when they try to register.
A family signing up for more than one class doesn’t have to pay for each one separately: choosing Add another class first on a paid class adds it to their registration instead, and a running total follows them around the catalog until they’re ready to review everything and check out once. See the Enrolling in Classes & Managing Waitlists guide for the family-facing walkthrough.
Test Co-op
Community
Class CatalogFamiliesForumDocumentsGalleryClassifiedsMenu › Class Catalog
Class Catalog
Nature Journaling
with Sam Teacher
Intro to Chemistry
with Pat Teacher