Customizing Your Co-op
What you can customize
Almost everything visual lives in one place: Admin → Settings, split into a few areas. Use the switcher at the top of the page to move between them.
- Branding: your logo, accent color, and public page.
- Co-op: your co-op’s name, contact email, country, and time zone.
- Families: the member welcome message and which sections show up in the sidebar.
Your public-facing website is designed separately in the page builder, covered in Public Page Builder.
The contact email in the Co-op area does more work than its name suggests. It is the address a member reaches when they hit Reply on an announcement, an email blast, an event or volunteer reminder, or a balance reminder, and it appears in a “Questions? Email …” line at the bottom of announcements. Those messages are sent from an address that can’t receive mail, so with no contact email set a reply bounces and reaches nobody. It is also the address shown on your public page.
Your logo
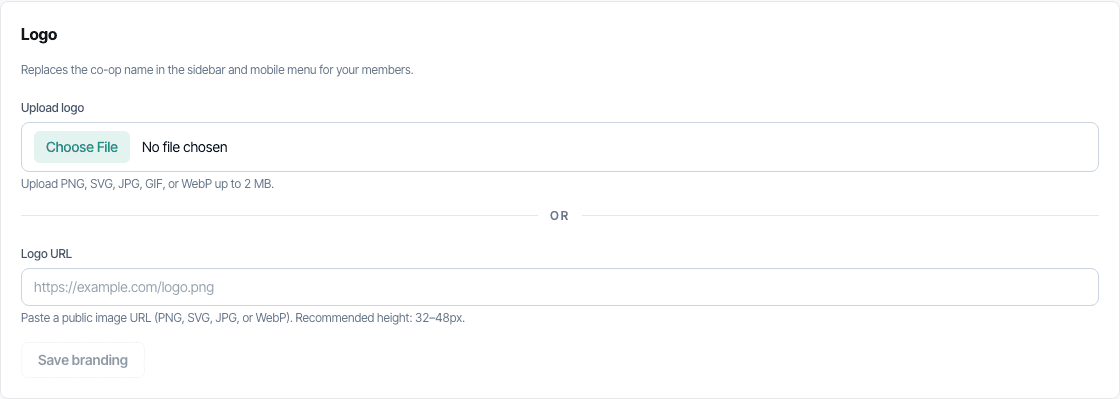
Upload a logo and it takes the place of your co-op’s name in the sidebar and the mobile menu, so members see your mark instead of plain text.
Accent color
Pick the accent color your co-op sees while signed in. It colors the buttons, links, and highlights across the dashboard, and members see the same accent you do.

Welcome message
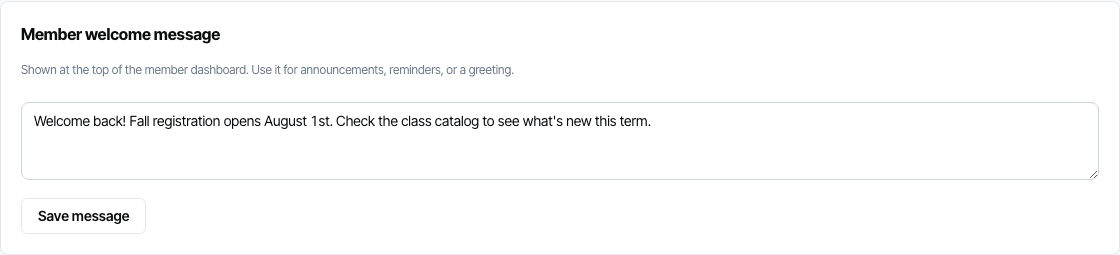
A short message that sits at the top of the member dashboard, so it’s the first thing families see when they log in. Use it for a seasonal greeting or a reminder like “Registration opens May 1st.”
Contact email
Set an email address that members can use to reach your co-op. It shows up in a few places in the member dashboard so families know how to get in touch with a real person.
What members see in the sidebar
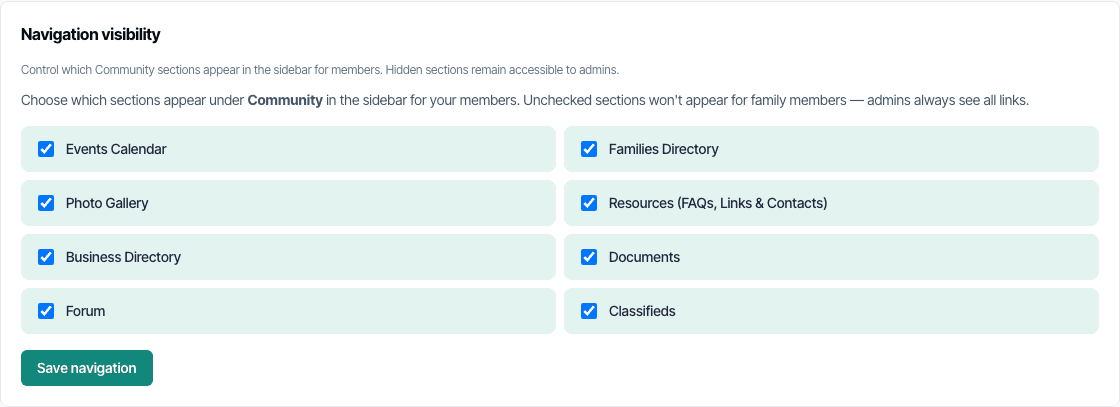
You don’t have to use every feature. If your co-op doesn’t run a gallery or a forum, you can hide those Community sections so members’ sidebars show only what’s relevant to them.
The Class Catalog is on that list too. Co-ops where the office enrolls every student and bills classes as dues have nothing for a family to browse there, so hiding it takes a dead end out of the sidebar. Enrollments and fees are unaffected; it’s the link that goes away.
Time zone
Set your co-op’s local time zone so dates and times read correctly everywhere they appear: event notifications, announcement emails, text messages, and calendar links. Members see their own clock instead of doing the math.
Region and currency
Your Country setting (under Admin → Settings → Co-op) does two quiet but important things:
- It sets the address fields on member profiles: “State” and “Zip code” for the U.S., “Province” and “Postal code” for Canada.
- It sets the currency families pay in at checkout: U.S. dollars for U.S. co-ops, Canadian dollars for Canadian co-ops.
Your public page
Separate from the member dashboard, your public page is the front door prospective families see before they join. Turn it on or off under Admin → Settings → Branding → Public page. Once it’s live, it’s at /co-op/your-co-op.
Designing it (layout, content, photos, and its own color theme) happens in the page builder, which is part of the Plus plan. Public Page Builder walks through it block by block.
See it the way members do
Logo, color, and welcome-message changes take effect the moment you save; there’s no separate publish step. To check your work, open your own dashboard. Admins and members see the same branding.
One more touch: give your co-op its own sign-in address (like your-co-op.homeschoolgo.app/login) under Admin → Settings → Co-op. Members who visit it see your logo and name right on the login page.
Still have a question? Head back to the Help & Support page or reach out to your co-op admin directly from the dashboard.